A marine accident can be a jolting experience, leaving not just visible scars on your boat’s hull but also a lingering impact on its aesthetics and performance. In the aftermath, the journey to restore your vessel involves more than just repairs – it’s about reviving its visual allure and ensuring it stands resilient against the challenges of the open seas. Let’s chart a course on how to repaint your boat after a marine accident and set sail for a rejuvenated maritime companion.
- Assess the Extent of Damage:
Before the brush meets the hull, conduct a thorough assessment of the damage. Identify areas affected by scratches, dings, or impact-related issues. This evaluation serves as the foundation for a targeted and effective repainting strategy.
- Clean and Prepare the Surface:
A clean canvas is essential for a successful paint job. Remove any debris, dirt, or remnants of the accident from the boat’s surface. A mild detergent, soft brush, and clean water can help cleanse the area, ensuring optimal paint adhesion.
- Surface Smoothing and Repairs:
Addressing imperfections is crucial for a flawless finish. Sand the damaged areas to create a smooth surface for the new paint. If there are deeper gouges or dings, consider using a marine-grade filler to level the surfaces. Sand again after filling for uniformity.
- Choose the Right Marine Paint:
Selecting the right marine paint is pivotal for a lasting and resilient finish. Opt for high-quality marine-grade paint suitable for your boat’s material. If possible, use the same paint brand and type that was used before the accident for consistency.
- Masking and Protecting Surroundings:
Ensure areas not meant for painting are adequately protected. Use painter’s tape to mask off sections and cover the surrounding environment with plastic sheeting or drop cloths. This precaution prevents unintentional over spray and maintains a clean workspace.
- Primer Application:
Applying a marine primer is a critical step to enhance adhesion and promote durability. Choose a primer that complements both the type of paint used and your boat’s material. Follow the recommended drying times before proceeding to the next steps.
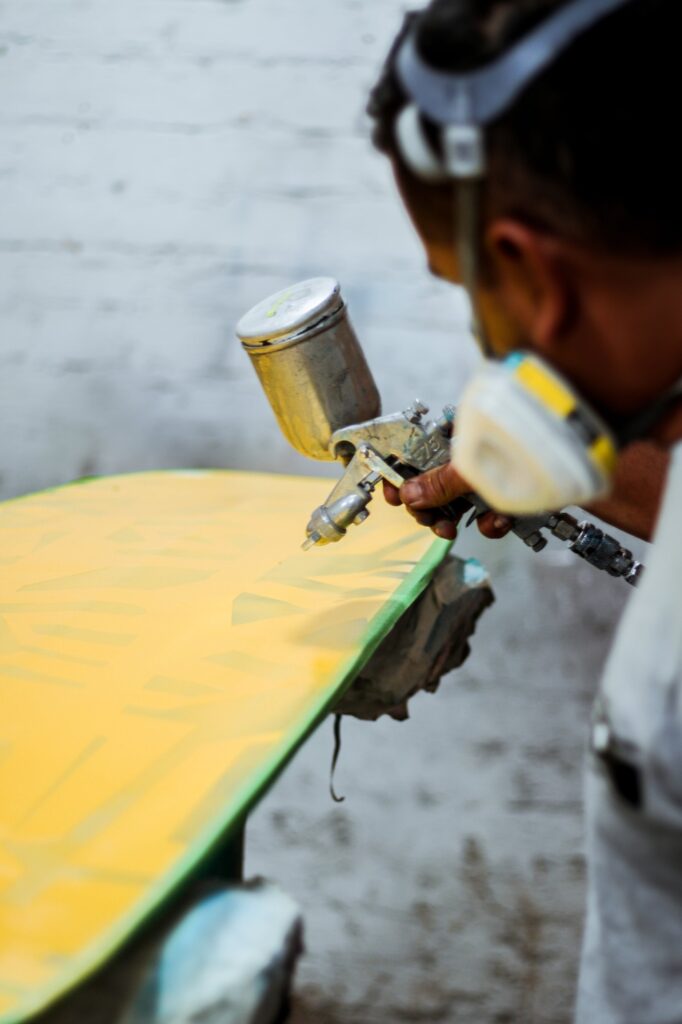
- Painting Techniques:
Whether you choose a brush, roller, or spray gun, follow the recommended techniques for the chosen paint. Apply thin, even coats to achieve a professional finish. Pay attention to drying times between coats to avoid imperfections.
- Clear Topcoat (Optional):
For an added layer of protection and a glossy finish, consider applying a clear topcoat. This optional step can enhance the aesthetics and shield the paint from UV rays and environmental factors.
- Post-Painting Inspection:
After allowing the paint to cure, conduct a thorough inspection. Ensure that the new paint seamlessly integrates with the existing layers. Address any imperfections or inconsistencies promptly.
- Final Buffing and Polishing (Optional):
For an extra touch of brilliance, consider buffing and polishing the painted surfaces. This step can add a shine to your boat and contribute to a showroom-worthy appearance.
- Professional Assistance (if needed):
If the accident resulted in extensive damage or if you’re unsure about certain aspects of the repainting process, don’t hesitate to seek professional assistance. Marine painting experts can provide guidance and ensure a top-notch result.
Conclusion:
Repainting your boat after a marine accident is more than a restoration project – it’s a voyage toward renewal and visual rejuvenation. With meticulous planning, the right tools, and a commitment to quality, you can transform the aftermath of a mishap into an opportunity to showcase the resilience and enduring beauty of your maritime companion.